|
Mold and mildew growth in drywall mud can be an unsightly problem, but the good news is that it is preventable. Taking the proper precautions before and after it has dried can reduce the chances of mold growing on your walls and ceilings. This blog post will discuss how to properly apply drywall mud to prevent mold from growing and the steps you can take once the mud has been applied. Read on to learn more about how you can avoid a moldy mess and keep your drywall mud in good condition. Applying Drywall Mud to Prevent Mold
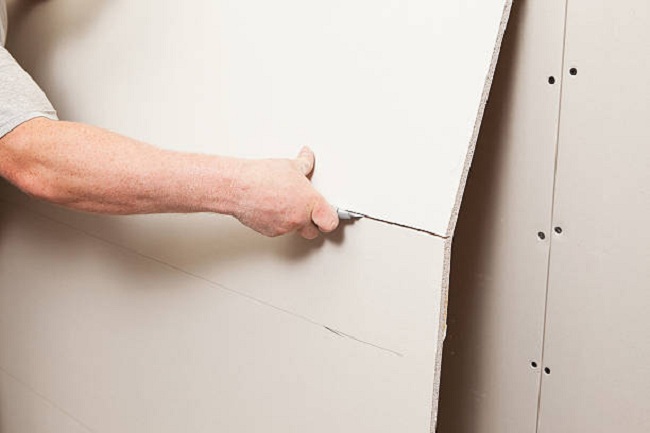
Applying drywall mud correctly is essential in creating a healthy, mold-free home. Drywall mud acts as a barrier against moisture and helps to keep mold growth at bay. Here, we will discuss the steps on how to drywall mud adequately protects your home from mold. STEP 01. Ensure That the Area Is Clean and Free Of Dust, Dirt, and MoistureBefore beginning any work on installing drywall or applying drywall mud, it is important to ensure that the space is free from dust and dirt particles. This can be done by vacuuming or wiping down all surfaces with a damp cloth or vacuum attachment. It is also crucial to ensure there are no leaks or signs of moisture, as these can cause problems with drywall installation and invite mold growth. If there are signs of moisture present, then these should be addressed during installation or applying the drywall mud. STEP 02. Mix the Right Ratio of Water and Drywall Mud for the Best ResultsWhen mixing up your batch of mud, ensure you get a good mix right. Too much water in your mix will make it too thin, while too little makes it thick and difficult to work with. Generally speaking, one part water should be mixed with three parts drywall mix, but this ratio may change depending on what type of project you are working on. Also, consider that thicker mixes tend to have better adhesion but are more challenging to apply evenly, so adjust your ratios accordingly. STEP 03. Never Skip Priming the Wall before Applying Drywall MudYou mustn’t skip out on applying primer before application of the drywall mud if you want long-lasting results and mold to not grow in your walls due to trapped moisture present within them. Priming helps create an even surface for application and provides an additional layer of protection from moisture penetration into the wall cavity, which can lead to mold growth behind your walls if left unchecked over time. When selecting a primer, ensure it’s appropriate for use on interior surfaces such as gypsum boards and has excellent water-resistant properties. STEP 04. Use a Putty Knife or Trowel for Application for Even Coverage
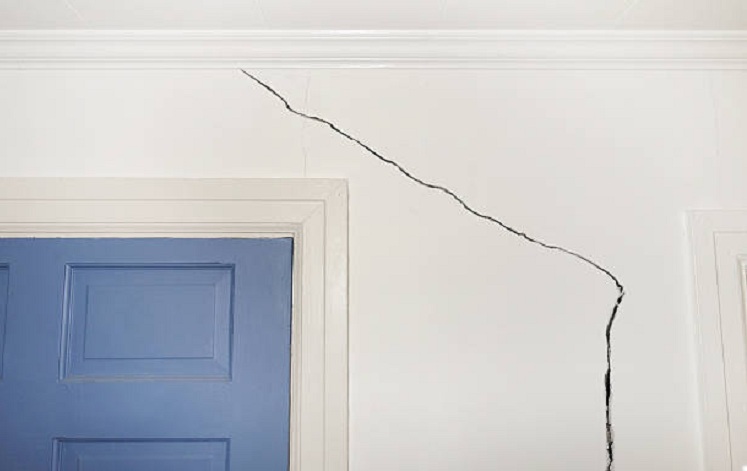
For best results when applying the wet layer of drywall mud; using a putty knife or trowel is recommended since they both have flat edges which allow for even coverage across vast areas without leaving lumps or dips behind after each pass. Start by applying pressure along one side of your chosen tool, then gradually move outward towards other sides until full coverage has been achieved. Don't worry if some corners look uneven since these can be easily smoothed over later with sandpaper once everything has dried up. STEP 05. Allow Sufficient Drying Time before Adding Additional Layers of Drywall MudIt's important not to rush into adding additional layers onto existing ones before their predecessor has had enough time to set otherwise fully; air bubbles might form underneath, causing bumps within your finished surface. Depending on factors such as how humid any given environment is; drying times may vary anywhere from 12 hours minimum up to 24 hours maximum, so always check back regularly just in case additional waiting time needs to be added to maintain quality levels. STEP 06. Use Sandpaper to Achieve a Smooth Finish after Layer Has Dried Once all layers have completely dried up, give them one last check-up using sandpaper to achieve smooth surface texture overall; starting with rougher grits first, then gradually transitioning into finer ones until the desired level has been reached without damaging newly applied material underneath. Keep frequently turning over different pieces throughout the entire process just in case some particularly rough spots remain hidden beneath earlier stages; adjusting pressure levels accordingly depending upon how thick each respective layer happens to turn out at the result stage. Mold Prevention When Drywall Mud Has Already Been AppliedIf you already have drywall mud applied, several things can be done to help prevent mold growth. First, make sure to ventilate the area adequately. When using water-based mudding, adequate ventilation is essential to allow the moisture from the wall to evaporate. This can be achieved by opening windows or running a dehumidifier in the room. Furthermore, all wet areas are sealed properly with primer and paint. Primer helps seal any moisture and prevents it from seeping into other areas of drywall mud, thus stopping mold spores from growing. After painting, use an air freshener or scrub brush to remove any remaining dust or residue on the walls. It is also a good idea to inspect the drywall mud periodically for signs of mold growth. If any is found, make sure to clean it up immediately and treat the area with a fungicide or mildew ide. Doing so will help prevent further mold growth and keep the area safe. Finally, use fans and other ventilation sources to circulate air around the room and reduce moisture levels to prevent mold from growing on walls with drywall mud applied. This helps to keep your drywall intact and free from mold! ConclusionFollowing these simple steps, you can ensure that your newly applied drywall mud stays in pristine condition for years and does not succumb to mold or other moisture-related issues. Regularly checking for cracks and gaps in the walls is essential, as well as ensuring adequate ventilation in the room. Applying the correct type of drywall mud, cleaning off any excess material, and applying a sealant after drying are all important measures you should take when working with this material. Doing so will ensure that your drywall remains clean and beautiful over time.
0 Comments
Leave a Reply. |